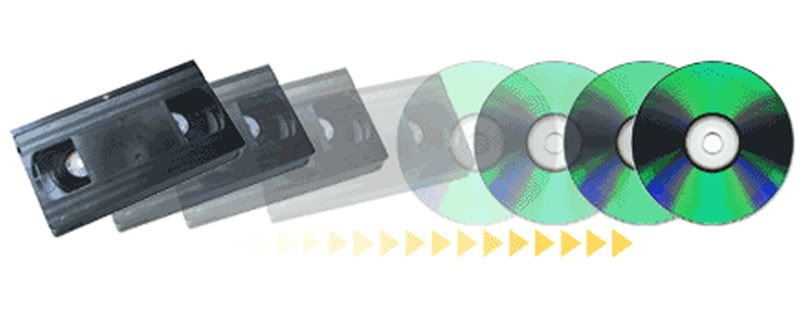
Here are the basic steps to convert your VHS to DVD. It’s part 2 of a 2-part series. Click here for Part 1 – How to set up the VHS to DVD transfer equipment :

Step 1. Connect the TV screen to the converter deck so you’ll be able to see the controls and monitor the video transfer as it progresses.
Step 2. Dust off your tapes, flip the lid (press the small button on the side) to make sure the video tape is still attached. After careful inspection of your tape, put your tape on the VHS tape holder of your video to digital converter deck and close it.
Step 3. Insert a reputable and reliable brand WRITABLE DVD (we use Verbatim -R) onto the DVD holder of the converter deck.
Step 4. Review your VHS or VCR tape so you know where you want to start the video transfer. The first few seconds of tape is usually static blue zig-zag screens, forward your tape past that before you start the video transfer.
Step 5. Forward the video tape to the end so you know how much video is on it. For example, most tapes are 2 hours long, but only partially filled with video. If your video is only 34 minutes long and you let the recording continue until the end of the tape, you will have about an hour and a half of black screen.
Step 6. Press Copy or Record on the converter to start the copying. Start your timer to the length of the video (e.g. 34 minutes in Step 4).
Step 7. As the converter deck transfers your tape to digital signals, monitor with the attached TV screen that 1) the video is clear 2) the sound is clear and 3) the video and sound SYNC up. If you see any zig zag static going across the screen, adjusting the tracking often helps.
Step 8. When your timer rings, stop the recording.
Step 9. Finalize your DVD. This is a step that novices forget often. If you don’t finalize your DVD, you will be able to play it on the VCR player that you used to transfer the video, but that unfinalized DVD will not play anywhere else.
Step 10. Test out your DVD. Do not pass your DVD to friends or family without first testing your DVD on at least 2 different player: your computer, or your DVD player in the living room.
Your VHS tapes, VCR tapes, 8mm tapes are at least 10 years, many are 20 years or older. It’s important that you don’t take any short cuts like not inspecting and dusting off your tapes. It’s important that you use high-grade equipment to maximize the digital output of your aging home media.
If you decide it’s not worth the money and time investment to set up the gear and learn the process, you have another alternative: video transfer service. At Play it Again Video, we’ve been transferring video – VHS tapes, VCR tapes, Hi8, 8mm film, Super 8 and 16mm film – since 1986. We’ve gotten very efficient at it so we are able to charge only $20 a tape. If the video on your tape is over 1 hour, it’s $5 more. 20 tapes or more, you get a volume discount. Because we do all our work in-house, our turnaround is very quick.


